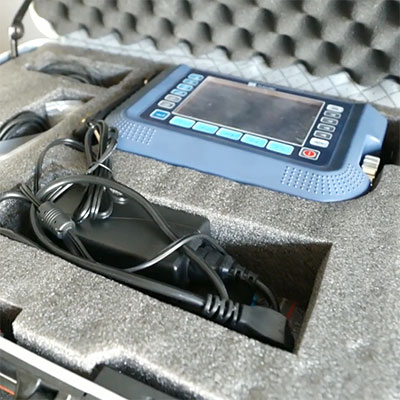
Ultrasonic flaw detectors play a critical role in quality control throughout the bearing lifecycle, ensuring reliability and performance in critical applications.
Raw Material Inspection
Detects internal defects in bearing steel (e.g., GCr15) such as:
- Porosity and shrinkage cavities
- Non-metallic inclusions
- Hidden cracks before manufacturing
Manufacturing Process Control
Identifies process-related defects during production:
- Forging and heat treatment cracks
- Grinding burns and surface micro-cracks
- Uneven material structure
Finished Product Quality Assurance
Ensures final bearing integrity through:
- 100% or sampling inspection of critical components
- Verification of wall thickness and uniformity
- Detection of hidden defects in raceways and rolling elements
In-Service Maintenance
Supports condition monitoring for installed bearings:
- Non-destructive evaluation of fatigue cracks
- Assessment of roller and raceway wear
- Quality verification after repair or reconditioning